On a positive note, (I feel) the one I aged came out pretty nice for a noob with zero artistic skills. (Thanks only to a great tutorial by Miax! Thanks Miax!)
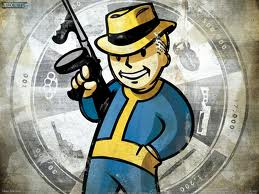
So, the first one was really screwed up because I'm flying by the seat of my azz with nifscope. So I decided to try the easy route of just using my texture to retext the Poseidon Energy poster. That's easy enough to rename and drop in my texture folder, or so I thought. The positioning is all f'd up and cut off the right side.
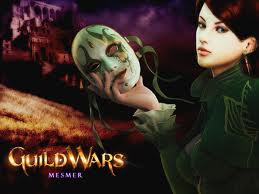
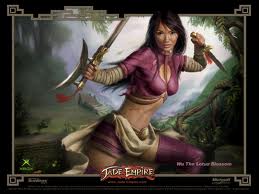
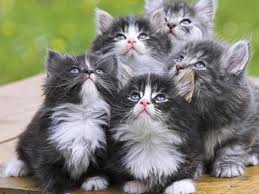
I pulled up the dds file for the vanilla poster, and it's 512x512, but the actual poster only takes up less than half of the 512x512. The rest appears to be transparent? So, I pulled up the 2nd image you see (the rat pack one) and sized it the same in my 512x512 dds file, exported it and so on. It looked right compared to the PoseidonEnergyAged.dds file until I went in the game and you see what it looks like in the 2nd pics.
1) what am I missing in the transparency as it gave me some errors in gimp when I tried to save it, and also said something about compression and cant compress if it's not a multiple of 4? (I thought 512x512 was a multiple of 4) And then it said something about multiples of 2, lol.
2) why is half of the poster cut off?
If I get ONE working like I want it, I should then be able to just use copies of the same model, go in nifscope and point it to the texture I want, right?
(I'm sorry these are totally noob questions, but this is the first time I've done this, so I'm a very frustrated noob.) :banghead: